


Secret Revealed: Step-by-Step Guide for a Perfect UV Nail Design That Lasts for Weeks

Inhaltsverzeichnis
What are UV nail wraps and what are their benefits?
UV nail wraps are self-adhesive films that are applied to the nails like stickers. The wraps can be cut to size before being sealed with a UV coat and cured under a UV lamp.
A UV nail design is externally indistinguishable from a gel/shellac nail design from the salon. It adapts perfectly to every nail shape. For those who like artistic nail designs, UV nail designs are perfect.
Thanks to curing with a UV lamp, a UV nail design lasts up to four weeks.
Unlike shellac and gel nails, UV nail wraps are gentle on the nails. The wraps do not contain aggressive ingredients that can make nails brittle and/or thin.
Step 1: Proper preparation is everything!
First, you should prepare your nails so that the adhesive of the UV nail wraps adheres optimally to them. It is very annoying when UV nail wraps fall off.
You should wash your nails thoroughly to remove grease and dirt. You can wash your nails with soap or dish soap. However, make sure that they do not contain triglycerides, oils, or fats. Always check the ingredients.
You can also use alcohol or nail polish remover to prepare your nails. However, these two products are aggressive and can sometimes dry out your nails too much.
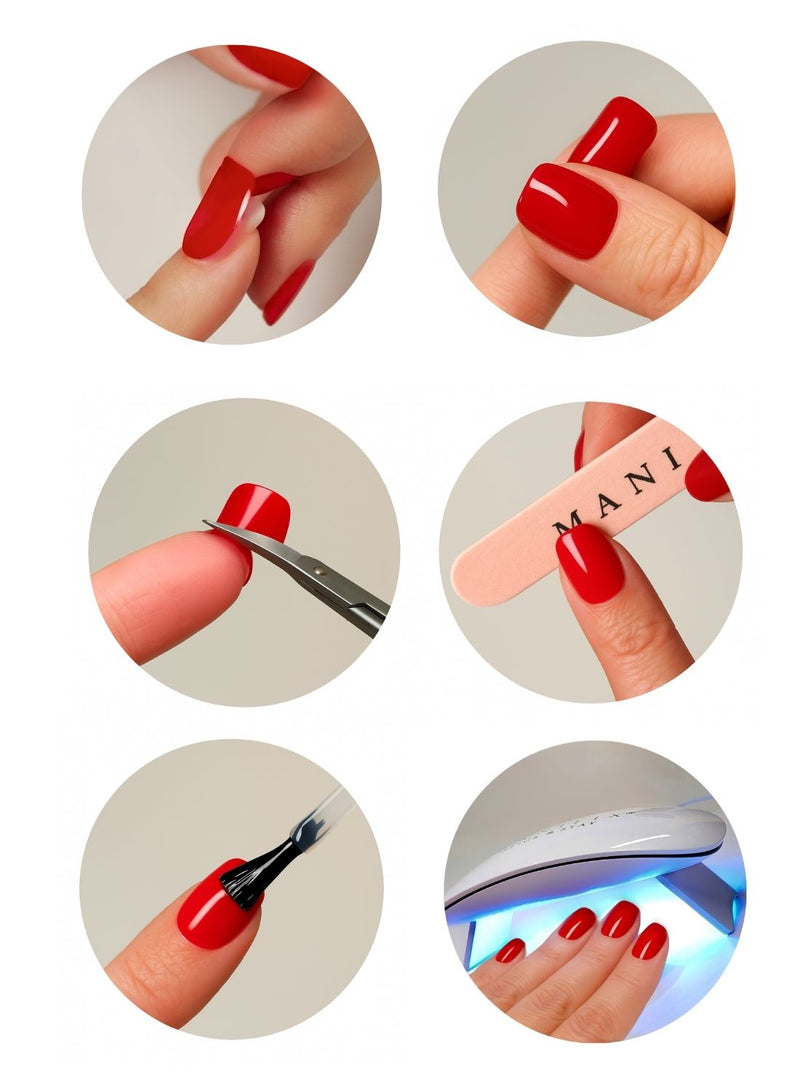
Step 2: Time to start sticking!
Take the wraps out of the package and see which nail wrap fits which nail in terms of width. Peel off the protective film and apply the matching nail wrap to each nail.
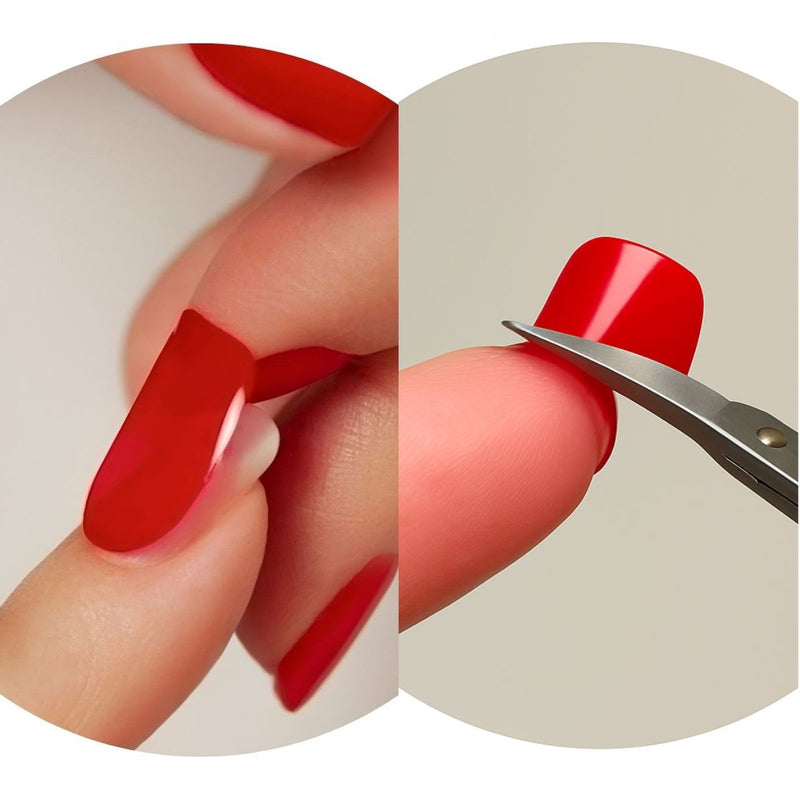
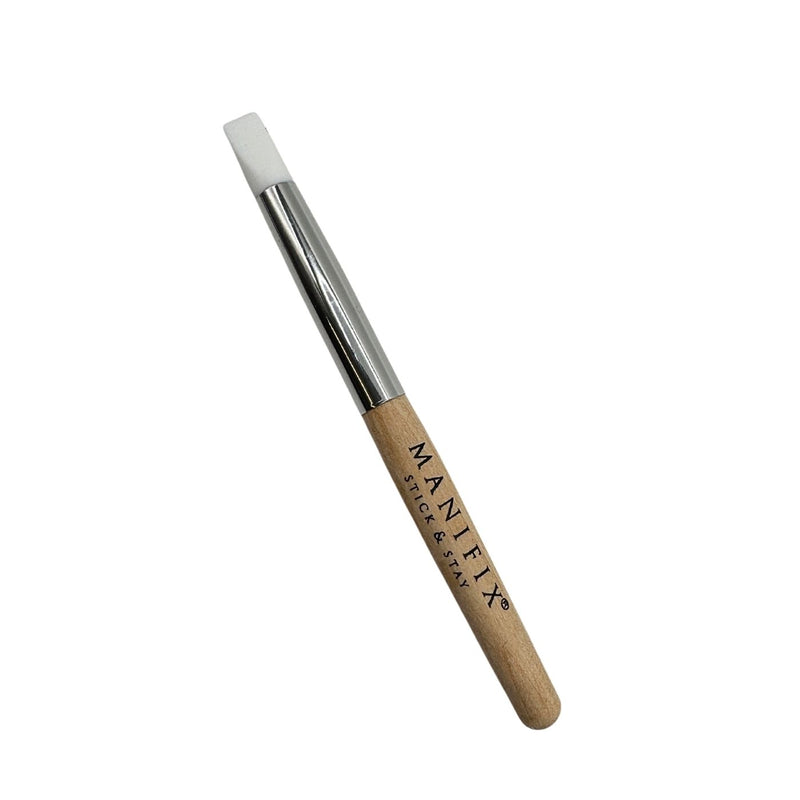
When you apply the wrap to your nail, smooth it out so that no bubbles form. Also, press it down firmly so that the adhesive develops its full adhesion. Especially press the sides of the nail wraps firmly with the wooden stick. Otherwise, the wraps might get caught in your hair later.
After you have applied the wraps well, cut off the excess edges at the top.
Step 3: The perfect finish
Then apply the UV coat (in polish or matte). Here, "less is more" applies. If you apply too much UV coat, unsightly bubbles may form. In addition, the nail design looks more delicate and elegant.
Then, place them under the UV lamp for 1 minute to cure the nail wraps.
Finally, file your nails with the included nail file to remove any small nooks and crannies.
And your professional-quality manicure is ready!
Discount Code
With the code
nagelglück25
you save on all nail wraps and UV nail wraps in the shop.*
shop now
How can you refresh your UV nail design?
You can refresh your nail design after approx. 14 days by filing the nail tips and reapplying a thin layer of top coat. Then, cure the nail wraps again for 1 minute under the UV lamp.
What is special about Manifix UV nail wraps is that they are fully cured. From the age of 30-35, the keratin plates in the uppermost nail layer move. If you use nail wraps that are not fully cured, they will slide around on the nail or a lot of adhesive must be used for the nail wraps to hold best.
Manifix UV nail wraps therefore use very little adhesive and are therefore particularly gentle on the nails.
It's no coincidence that we won the Beauty Swiss Award.
UV nail wraps by MANIFIX
Nail Wraps 1×1
In the MANIFIX Nail Wraps 1×1 you will find all sorts of tips & tricks on how to use our nail wraps, as well as exciting articles on special topics such as baby boomer nails. With our Nail Wraps 1×1, hopefully no questions will remain unanswered to help you achieve the perfect manicure.
all news at a glance
*Starter kits are excluded.
» CODE: nail happiness25 sparen

» CODE: nail happiness25 sparen
» CODE: nail happiness25 sparen
Innovative Nagel-Trends & UV-Nagelfolien: Sabrina Gomm
Kostenfreie Beratung von Sabrina Gomm
Expertin für Nagel-Trends und innovative UV-Nagel-Technologie
Autorin
Sabrina Gomm

EXCLUSIVE. ALWAYS INFORMED.
Newsletter
Become a MANIFIX Insider - and never miss another offer.