


Self-Confidence and Elegance: Find the Perfect Red Shade for Your Nails

Inhaltsverzeichnis
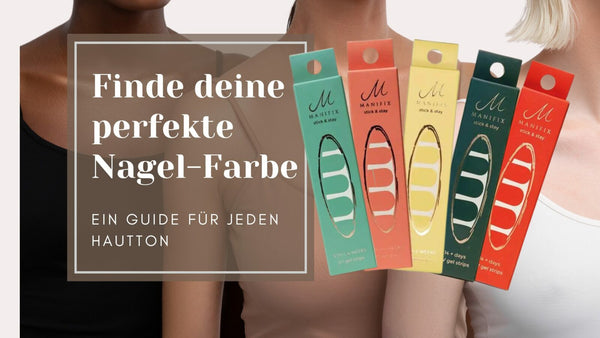
Beautiful Red Nails - The Trademark of Beauty-Conscious Women
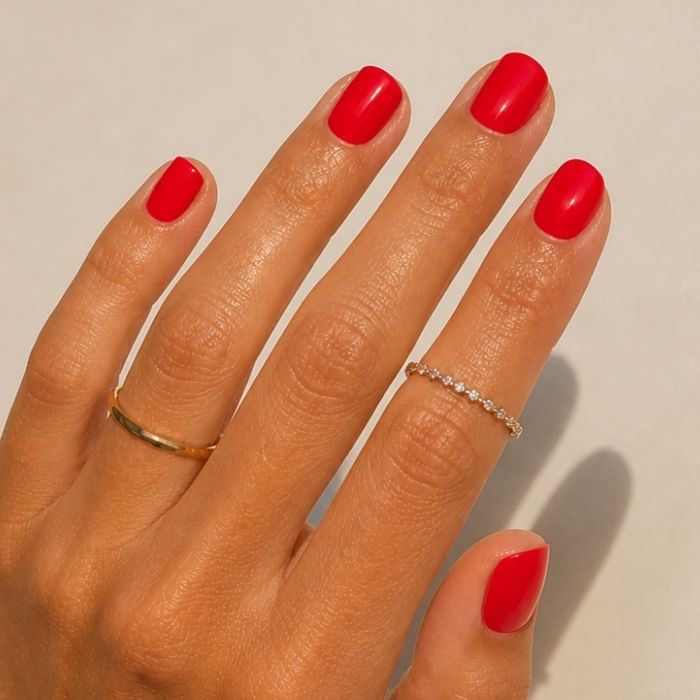
In the world of beauty, nails are often a woman's calling card. They not only add the finishing touch to a look but can also say a lot about the wearer's personality and style. Red nails, in particular, are considered a timeless statement of elegance and self-confidence. But how do you find the perfect shade of red that not only suits your personal style but also your skin tone? In this detailed blog post, I'll share all the tips and tricks to find the perfect shade of red for your nails and how to have beautiful nails for 4 weeks in no time.
Red, Shades of Red, and the Symbolism of the Color
Red is not just a color, it's a statement. It stands for passion, self-confidence, and strength. But the spectrum of red shades is vast, and the choice can be overwhelming. From vibrant fiery red to deep burgundy, there are countless nuances to choose from. Before you decide on a shade of red, it's important to understand what message you want to convey. A strong red, for example, can radiate self-confidence and passion, while a delicate rosé conveys a more subtle elegance.

Choosing the Perfect Shade of Red
Choosing the perfect shade of red for your nails can be an exciting and creative experience. Take your time to try out different nuances and discover your personal style.
Personality:
Start by considering your favorite colors and thinking about which shade of red best matches your clothing style and personality.
Occasion and Season:
Another important aspect when choosing the right shade is the occasion. Do you want to create a dramatic look for a special evening, or are you looking for a more subtle shade for everyday wear? Also consider the season and current trends - while vibrant and bright reds are in vogue in summer, deeper and more sophisticated shades are preferred in winter.
Skin Tone:
Skin tone plays a crucial role in choosing the right shade. Not every red shade suits every skin tone, so it's important to choose the shade that best highlights your hands. Women with warm skin tones often look best with warm reds like orange or coral red, while women with cool skin tones should prefer cool reds like raspberry or burgundy.
But how do you determine your skin tone and find the perfect shade of red?
An easy way to determine your skin tone is to look at your wrists in daylight. If your veins appear greenish, you likely have a warm skin tone, while blue veins indicate a cool skin tone. Another method is the so-called jewelry test: Place a gold and a silver necklace around your neck and see which color best suits your complexion. Most people also instinctively prefer gold or silver jewelry. If gold jewelry makes your skin glow, you probably have a warm skin tone, while silver jewelry suits a cool skin tone better.
Discount Code
With the code
Manilove
you save on all nail wraps and UV nail wraps in the shop.*
shop now
Once you've determined your skin tone, you can specifically look for red shades that match your complexion. Women with warm skin tones should stick to warm reds like orange-red, coral red, or tomato red, while women with cool skin tones should opt for cool reds like raspberry red, burgundy, or Bordeaux red. If you're unsure, you can also try neutral reds like mauve or terracotta, which suit most skin tones.
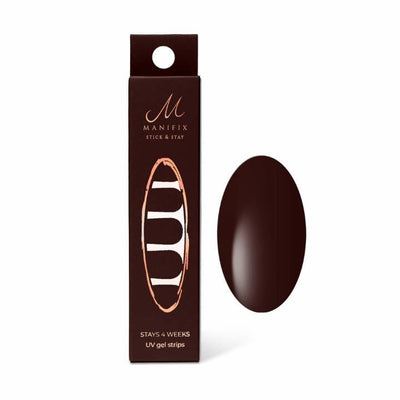
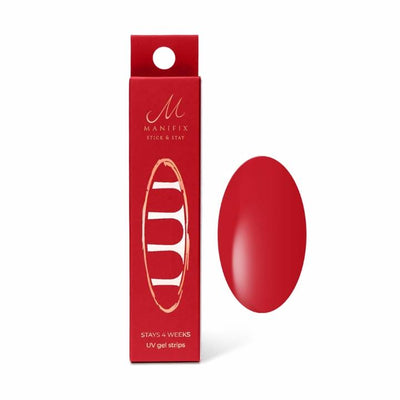
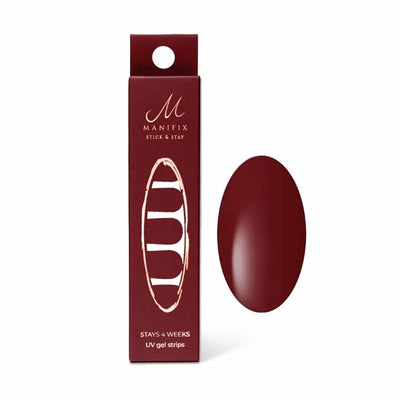
Manifix has a large selection of UV nail wraps in red shades. Here you will find all red shades at a glance.


With all these factors in mind, you can be sure to find the perfect shade of red for your nails that highlights your individual style and makes you shine.
Manifix offers an exclusive selection of high-quality nail wraps in various red shades to accentuate your individual style and make your nails shine. Click here to discover all red shades and find your perfect red UV nail wrap.

DIY – 4 Weeks of Beautiful Red Nails
Once you've found the right shade of red, it's about having long-lasting beautiful nails. However, conventional nail polish usually chips after a few days. Salon applications can be an option, but they have the disadvantage that your own nails suffer and get damaged, and you are tied to salon visits once your nails grow out or get damaged.
An absolutely innovative solution here are Manifix UV nail wraps. They are very easy and quick to apply, last up to 4 weeks, and can be easily removed with conventional oil without damaging your nails. Manifix UV wraps are convincing in terms of durability due to their patented adhesive surface, which distinguishes them from all other nail wraps on the market. Nevertheless, proper preparation and application are crucial for long-lasting wear.

If you want to try Manifix nail wraps, you only need a UV lamp, a UV coat, and Manifix UV nail wraps. All three products are included in the Starter Set for only €29.90. If you already have a UV lamp at home, you can also use that and get the Starter Set without a UV lamp for only €19.99. With the discount code Manilove, you also get -25% on all nail wraps.
Once you have everything at home, you can get started. Initially, allow about 30 minutes. Later, it will only take 15 minutes.
https://www.youtube.com/watch?v=bXcnY8n4vMsDiscount Code
With the code
Manilove
you save on all nail wraps and UV nail wraps in the shop.*
shop now
1. Preparation:
- Clean your nails with soap, dish soap, nail polish remover, or alcohol. Please do not use any product containing fats/oils (triglycerides). It is important that the nails are completely dry before application, as both can impair the adhesive properties of the wraps.
Tip: Also degrease your fingertips, as you will use them to smooth down the nail wraps later.
- File your nails into the desired shape.
- Then push back your cuticles with the rosewood stick and remove them if necessary. By pushing them back, you extend the wear time, as the wraps won't grow out as quickly, and you'll enjoy them longer.
2. Finding the Right Size:
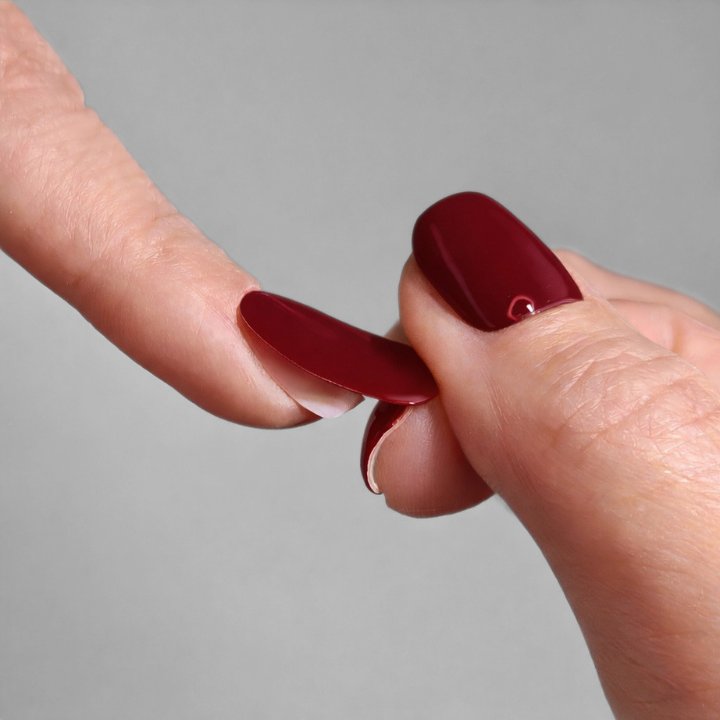
Manifix nail wraps come on a transparent, flexible backing that helps you find the right size for each nail. Simply bend the backing with the nail wraps over the corresponding nail. If you're unsure, it's better to use the smaller UV nail wrap, as Manifix nail wraps are also slightly stretchable. If the wrap is too large and is glued onto the cuticle, it will not hold optimally. As a small tip: For most people, the middle finger nail is wider than the index and ring finger nails.
3. Applying the Wraps:
First, stick the wrap to one side of your nail. Not on the cuticle! Then press it firmly and stretch it to fit your nails. If you realize you've positioned the wrap slightly incorrectly, you can peel it off and reapply it. Only when the wrap is optimally placed should you firmly smooth it down with your fingertips.
Finally, use the beveled side of the rosewood stick to press down the edges, especially towards the cuticle. Small indentations may appear in the nail wrap here. This is fine, as they will disappear with the UV coat. If you find your hair snagging after 1-2 weeks, then you know you should press more firmly in the future. But even here, there are tips and tricks to fix this.
4. Trimming:
Manifix UV nail wraps cannot extend the nail. Therefore, trim your wrap after application with nail scissors. First, turn your hand over so you can see the nail underneath and avoid cutting too much by mistake. Leave 1-2mm. Then press the rest slightly under the nail and file off the excess. Make sure you don't file on top of the wrap, but rather apply the file diagonally underneath the nail. Tip: If you have very short nails and cannot fold anything under, you can file off the wraps after curing with the Manifix UV coat.
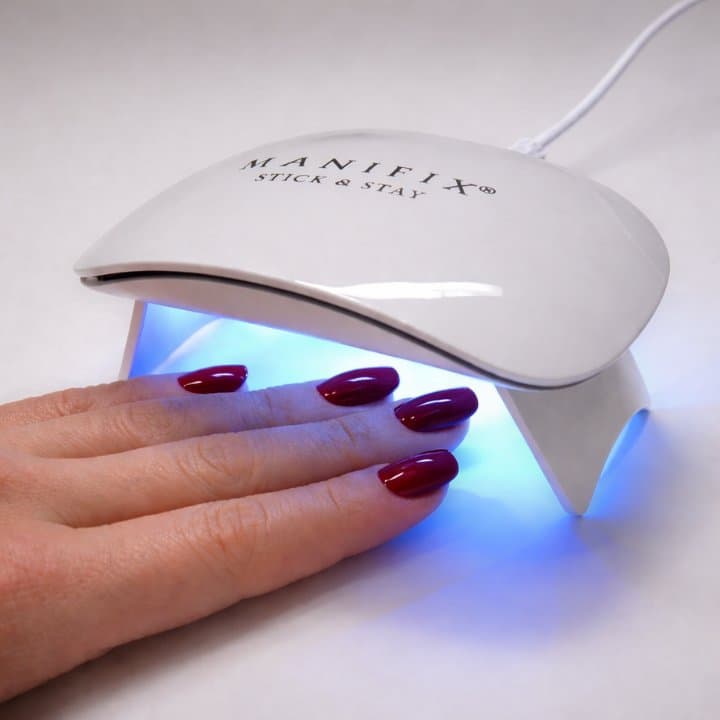
5. Sealing & Curing:
Now apply the UV coat. Less is more here. Please apply Manifix UV coat ONLY to the nail wraps and do not use it without them. Finally, cure for 60 seconds. If it gets a little hot under the lamp, that's okay. However, it's a sign that you've used too much UV coat.
6. Removal:
When the Manifix UV nail wraps have grown out after a few weeks, you can easily remove them with conventional cooking oil. Oil your nails well and use the beveled side of your rosewood stick. Dip the stick into the oil and slide it back and forth under the nail wrap. To protect your own nail, proceed slowly and carefully and do not use too little oil. It is also important to completely peel off the nail wrap with the rosewood stick and not simply pull off the rest with your fingers, as this can damage your own nail. However, removal is generally very easy and quick.
Heading for section 5: Conclusion:
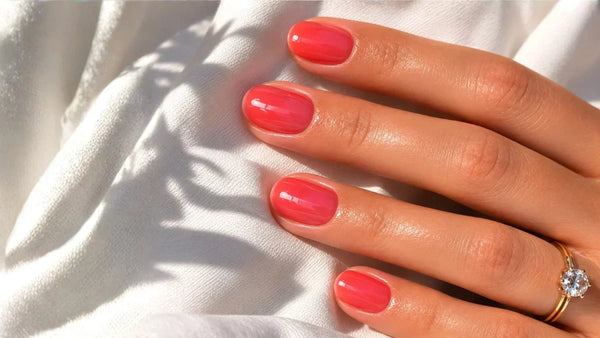
Text for section 5: Choosing the right shade of red for your nails can have a big impact on your overall appearance. With these tips and tricks, you can be sure to find the perfect shade of red for your nails and enjoy their full beauty for a long time. Whether you choose classic fiery red, seductive burgundy, or trendy coral red - with beautiful red nails, you will always appear stylish and self-confident.
Now I wish you a lot of fun browsing the shop. I'm sure you'll find your perfect red! With the discount code: Manilove you get -25% on all red and all other nail wraps.
Manifix UV Nail Wraps
Nail Wrap 1×1
In the MANIFIX Nail Wrap 1×1, you will find all sorts of tips & tricks for applying our nail wraps, as well as exciting articles on special topics like baby boomer nails. With our Nail Wrap 1×1, we hope no questions remain unanswered, ensuring you can achieve the perfect manicure.
all news at a glance
*starter sets excluded.
Diamond Red UV Nail Foil
CHF 16.50
Passende Produkte aus unserem Shop
Code Manilove im Checkout eingeben & sofort sparen!
HOL DIR Rote Nägel →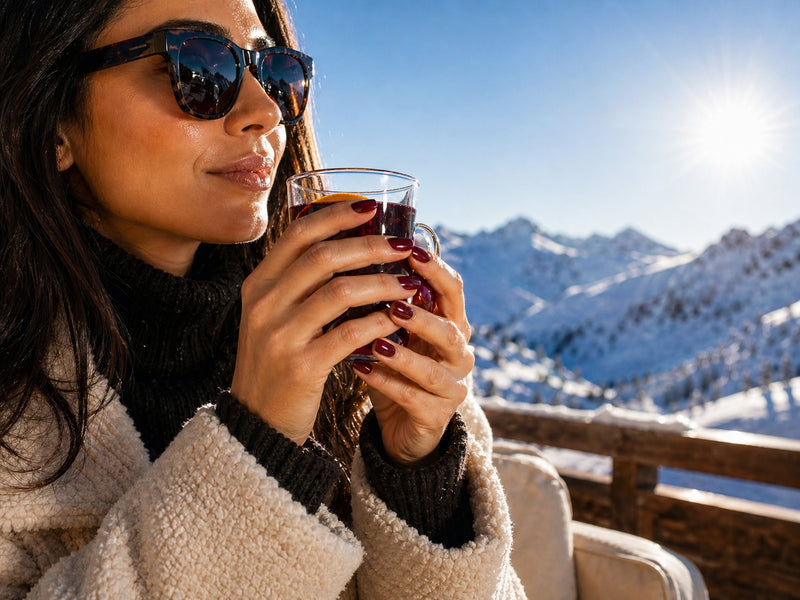
» CODE: Manilove sparen
Addict Red UV Nail Polish Strips
CHF 16.50
» CODE: Manilove sparen
Adamant Red UV Nail Wraps
CHF 16.50
» CODE: Manilove sparen
Innovative Nagel-Trends & UV-Nagelfolien: Marisa Wesendahl
Kostenfreie Beratung von Marisa Wesendahl
Expertin für Nagel-Trends und innovative UV-Nagel-Technologie
Autorin
Marisa Wesendahl
Entdecke mehr

EXCLUSIVE. ALWAYS INFORMED.
Newsletter
Become a MANIFIX Insider - and never miss another offer.