


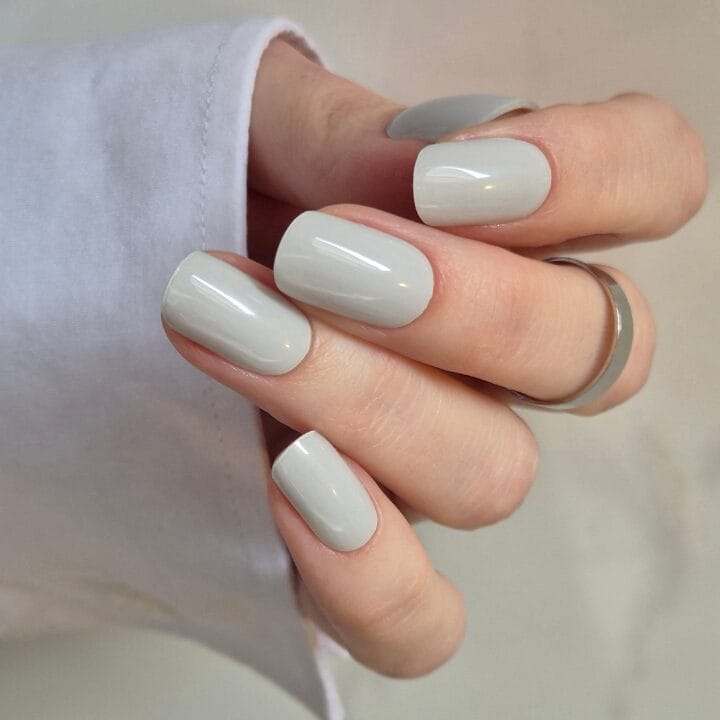
DIY Gel Nails: Studio-Quality at Home in 15 Minutes

Do you want the perfect gel nail look but don't have time for the nail salon? We'll show you how to do your own nails easily and professionally – without appointment stress and expensive visits.
Inhaltsverzeichnis
Introduction – Why UV Nail Wraps are an Innovative Alternative to Nail Salons
Nowadays, more and more people are looking for practical, cost-effective, and at the same time professional solutions for well-groomed nails. For a long time, nail salons were the first choice for beautiful and long-lasting nail designs. However, with the emergence of UV nail wraps and other innovative nail products, a new alternative is gaining increasing popularity: the at-home application of UV nail wraps.
Why UV Nail Wraps? An Overview of the Benefits
UV nail wraps offer numerous advantages over traditional nail salon treatments:
Cost savings: A one-time investment in high-quality nail wraps and accessories is cheaper than regular salon visits.
Time saving: Application takes only a few minutes, ideal for a quick beauty boost between tasks.
Easy application: Even beginners can easily apply UV nail wraps if they know the right techniques.
Durability: High-quality UV nail wraps often last 2-4 weeks, depending on the manufacturer, even without chipping or peeling.
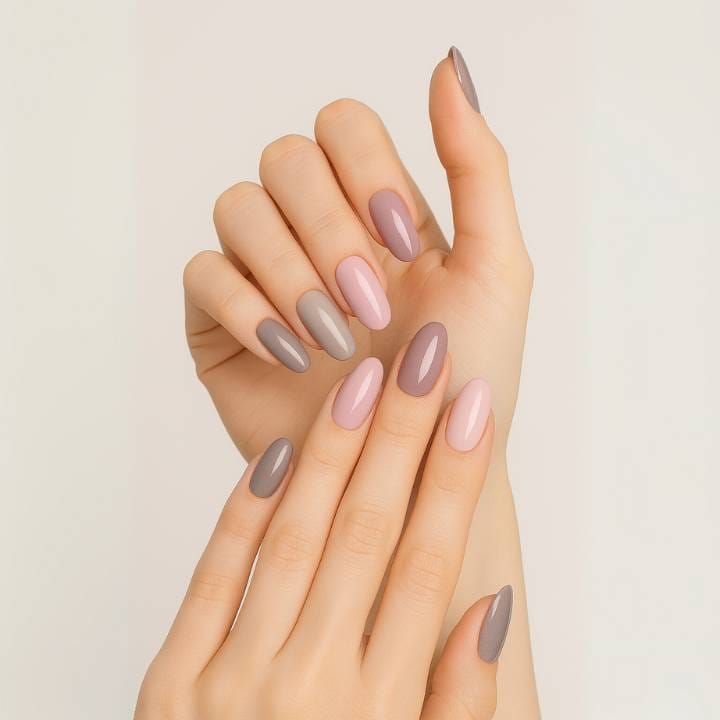
Diverse designs: From classic colors to trendy patterns – the selection is huge.
Protection for natural nails: Nail wraps can protect natural nails from breaking and chipping.
Why more and more people are choosing UV nail wraps
The flexibility and ease of use make UV nail wraps an attractive alternative to nail salons. Especially in times when time and cost play a major role, they offer a practical solution for well-groomed nails without appointments and long waiting times. The gentle method is also worth mentioning. Original Manifix uses a UV lamp of max. 6 watts, a compatible UV polish, all VEGAN, ECO, and GENTLE on the nail and nail bed.
Discount code:
With the code
"happysimi"
you save on all nail wraps and UV nail wraps in the shop.*
Shop now
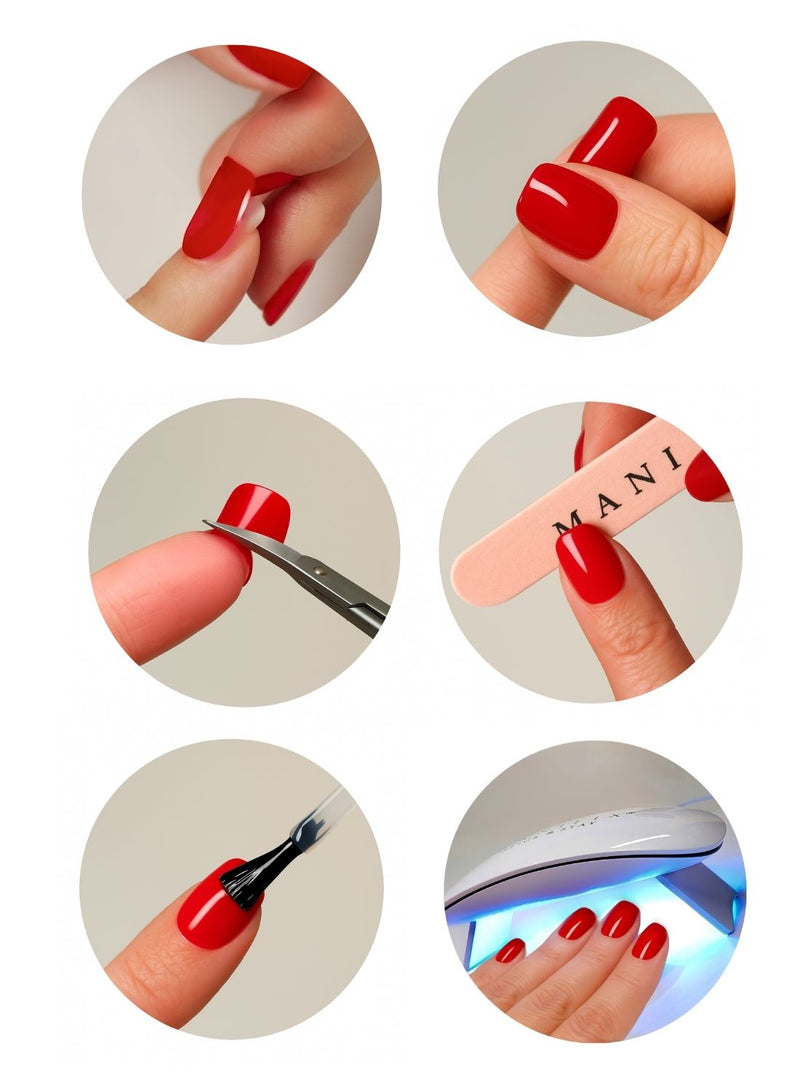
Application and Care of UV Nail Wraps – Step-by-Step Guide
To get the most out of UV nail wraps, proper application is crucial. Here I will give you a detailed step-by-step guide so that even you, as a potential beginner, can achieve perfect results.
Step 1: Preparing the nails
Clean nails: Thoroughly remove old nail polish residue with an acetone-free remover. Dish soap without emollients or alcohol swabs (don't forget to let the alcohol evaporate completely).
Push back cuticles: With a cuticle pusher or the rosewood stick included with Manifix, you can carefully push back the cuticles to create a smooth surface.
File nails: Shape your nails as desired and lightly buff the surface, also called "buffering," to improve the adhesion of the wrap. Only recommended for uneven nails.
Cleanse: Wipe the nails with an alcohol-based wipe to remove grease and dust. TIP: also the fingertips! as these naturally have a lipid film.
Avoid touching the adhesive side of the wraps
Step 2: Selecting and preparing the nail wrap
Choose the right size: Cut the UV nail wrap so that it fits well on the nail without touching the skin.
Adjustment: If necessary, you can still adjust the wrap to achieve a perfect result.
Step 3: Applying the UV nail wrap
Place the wrap on the nail: Carefully place the wrap on the nail, starting at the tip of the nail and smoothing it downwards and to the sides.
Press the wrap firmly, especially at the edges, with the stick.
To protect the wrap, it may be useful to use a silicone stick.
Avoid air bubbles.
Shorten the wrap just above your natural nail.
Use only a UV polish for more shine and hold or holographic effects; not comparable to commercially available top coats.
· Curing under UV light: Place the nail under a UV lamp and let the wrap cure for the recommended time according to the manufacturer's instructions. This ensures a firm hold and an even finish.
Summary of Benefits of Nail Wraps vs. Nail Salon Visit / Nail Polish
Less time commitment: Applying nail wraps often takes only a few minutes, while a visit to the nail salon can take significantly more time. No drying time after application: You can use your hands immediately after applying the wraps, without having to wait for them to dry. Less risk of errors: With nail polish, it's easy to get smudges or uneven application. Nail wraps are pre-made and can be applied precisely. Ideal for on-the-go: Nail wraps are handy and easy to take with you, so you can apply them quickly even when you're out and about. Fewer harmful ingredients: Many nail wraps are free of formaldehyde, toluene, and dibutyl phthalate, making them gentler on the nails. No risk of chipping with improper application: Nail wraps do not chip as easily as conventional nail polish when applied correctly. Easy removal: Nail wraps can usually be removed without elaborate filing or chemical solvents, which protects the nails.
NOTE: Do not apply in direct sunlight, UV nail wraps cure when exposed to sunlight. TIP: enjoy your personal manicure in peace in the evening or early morning. Store your UV nail wraps in a dark place. The bedroom is the perfect place ;-)
Do you have further questions? Don't be shy! Message me on IG @simi_pta or @manifixiert.
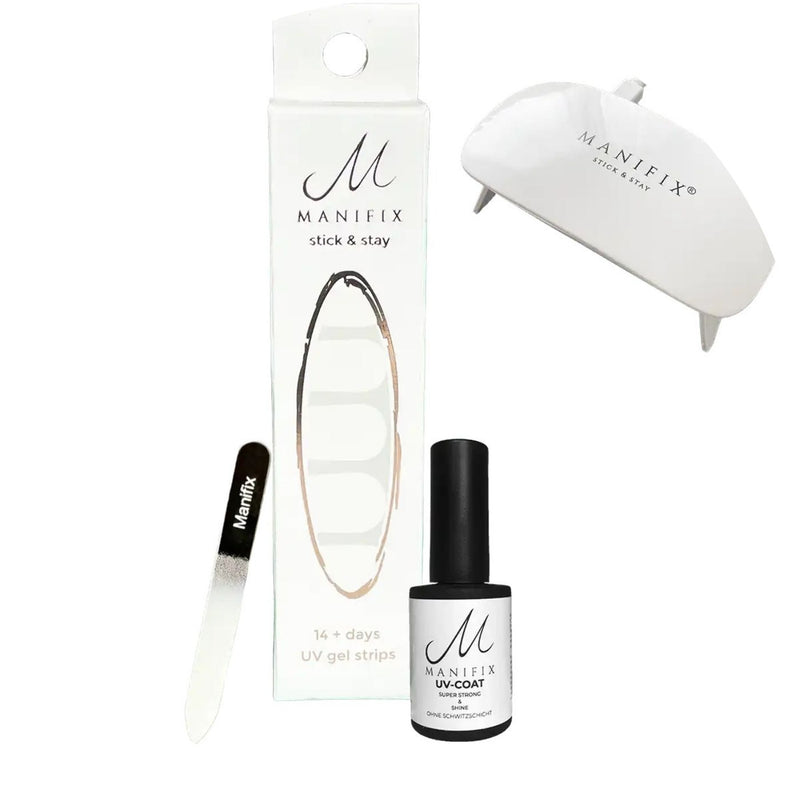
UV Nail Wraps by MANIFIX
Nail Wrap Basics
In the MANIFIX Nail Wrap Basics, you'll find all sorts of tips & tricks for applying our nail wraps, as well as exciting articles on special topics like Babyboomer nails. With our Nail Wrap Basics, we hope no questions remain unanswered to enable you to achieve the perfect manicure.
*Excluding starter sets.
» CODE: happysimi sparen
» CODE: happysimi sparen
» CODE: happysimi sparen
Innovative Nagel-Trends & UV-Nagelfolien: Simone Metzler
Kostenfreie Beratung von Simone Metzler
Expertin für Nagel-Trends und innovative UV-Nagel-Technologie
Autorin
Simone Metzler

EXCLUSIVE. ALWAYS INFORMED.
Newsletter
Become a MANIFIX Insider - and never miss another offer.